When building a camper, the focus is often on insulation, layout, and energy systems first. That makes sense. But ventilation is not something you solve later. It needs to be integrated into the design from the start, just like windows, doors, and roof hatches.
During an adventure, no one wants to deal with condensation in cabinets, moisture in the wall structure, or mold behind panels. With a well-thought-out approach to camper ventilation, you prevent these issues at their source. That forms the foundation of a reliable vehicle.
Why ventilation in your camper is essential
Without proper camper ventilation, problems quickly arise that affect both the lifespan and comfort of your vehicle. Condensation on windows and profiles is often the first sign, followed by moisture in the insulation and mold forming in corners and cabinets. Over time, this can lead to damage to wood and adhesive joints, resulting in structural issues. By integrating ventilation into the design from the start, you prevent these issues and ensure your build remains reliable under different conditions.
Ventilation as an integral part of camper design
Ventilation is not a standalone element, but part of the overall design of your camper. It needs to be aligned from the start with the insulation build-up, so moisture does not remain trapped in the structure. The placement of windows also plays a key role, as they provide controlled air intake. Door constructions and roof hatches then determine how air moves through the vehicle and can escape. In addition, technical systems such as heating and electrical installations influence air circulation and moisture production. By designing these elements together, you create a balanced system that contributes to comfort, durability, and reliability on the road.
Are you converting your camper?
We’re happy to help you find the products that best suit your camper and your journey. Whether you’re looking for standard components or a custom solution for your specific project, we’re here to think along with you. Feel free to get in touch. We’re ready to support your project from start to finish.
Optimal placement of windows and doors for camper ventilation
Effective camper ventilation starts with natural airflow. Fresh air should enter low in the vehicle, while warm and moist air exits at a higher point. This is typically achieved by placing windows low in the side walls, preferably on opposite sides to create cross ventilation.
Camper windows
Windows are not just for light. They are an active part of the ventilation system. Windows with multiple opening positions allow controlled airflow, even during rain. When selecting windows, pay attention to double glazing or safety glass, reliable hinges, proper sealing, integrated flyscreens and blinds, and solid locking mechanisms. For off-road use, windows must also be able to handle torsion without causing leaks.
The placement of windows determines how well the system works. By combining low air intake through windows or wall openings with high air extraction through roof hatches, natural ventilation is created. This reduces dependence on electrical systems and increases reliability.
Camper doors
Doors play a different role. They interrupt the wall structure and must combine ventilation, insulation, and safety. A well-built camper door has a stable frame, multiple seals, thermal separation, and a reliable locking system. Doors should not be used as primary ventilation points. In technical areas or gas installations, dedicated ventilation is required. Floor-level openings ensure that heavier gases can safely escape.
Skylights for campers
Skylights form the main outlet for warm air. For passive ventilation, a roof hatch must be watertight, usable in a ventilation position, and resistant to UV and mechanical loads. For additional airflow, active systems such as roof fans can be used, for example during cooking, high outdoor temperatures, or when the vehicle is parked in the sun. These systems only function properly when there is sufficient air intake elsewhere in the vehicle.
The relationship between ventilation, insulation, and thermal bridging
Insulation and ventilation always work together. Insulation keeps temperatures stable, while ventilation removes moisture. In poorly designed constructions, thermal bridges can occur. These are the points where condensation forms first.
Key considerations:
- Use thermally broken window and door profiles
- Ensure proper sealing around all openings
- Avoid direct metal connections between the interior and exterior
- Apply a vapor barrier on the warm side of the structure
No thermal bridges means less condensation and a more stable indoor climate. This is especially important in cold conditions or when traveling in humid environments.
Outbound windows and doors are developed with these principles in mind. Reliable sealing and carefully selected materials ensure consistent performance over time.
Get inspired
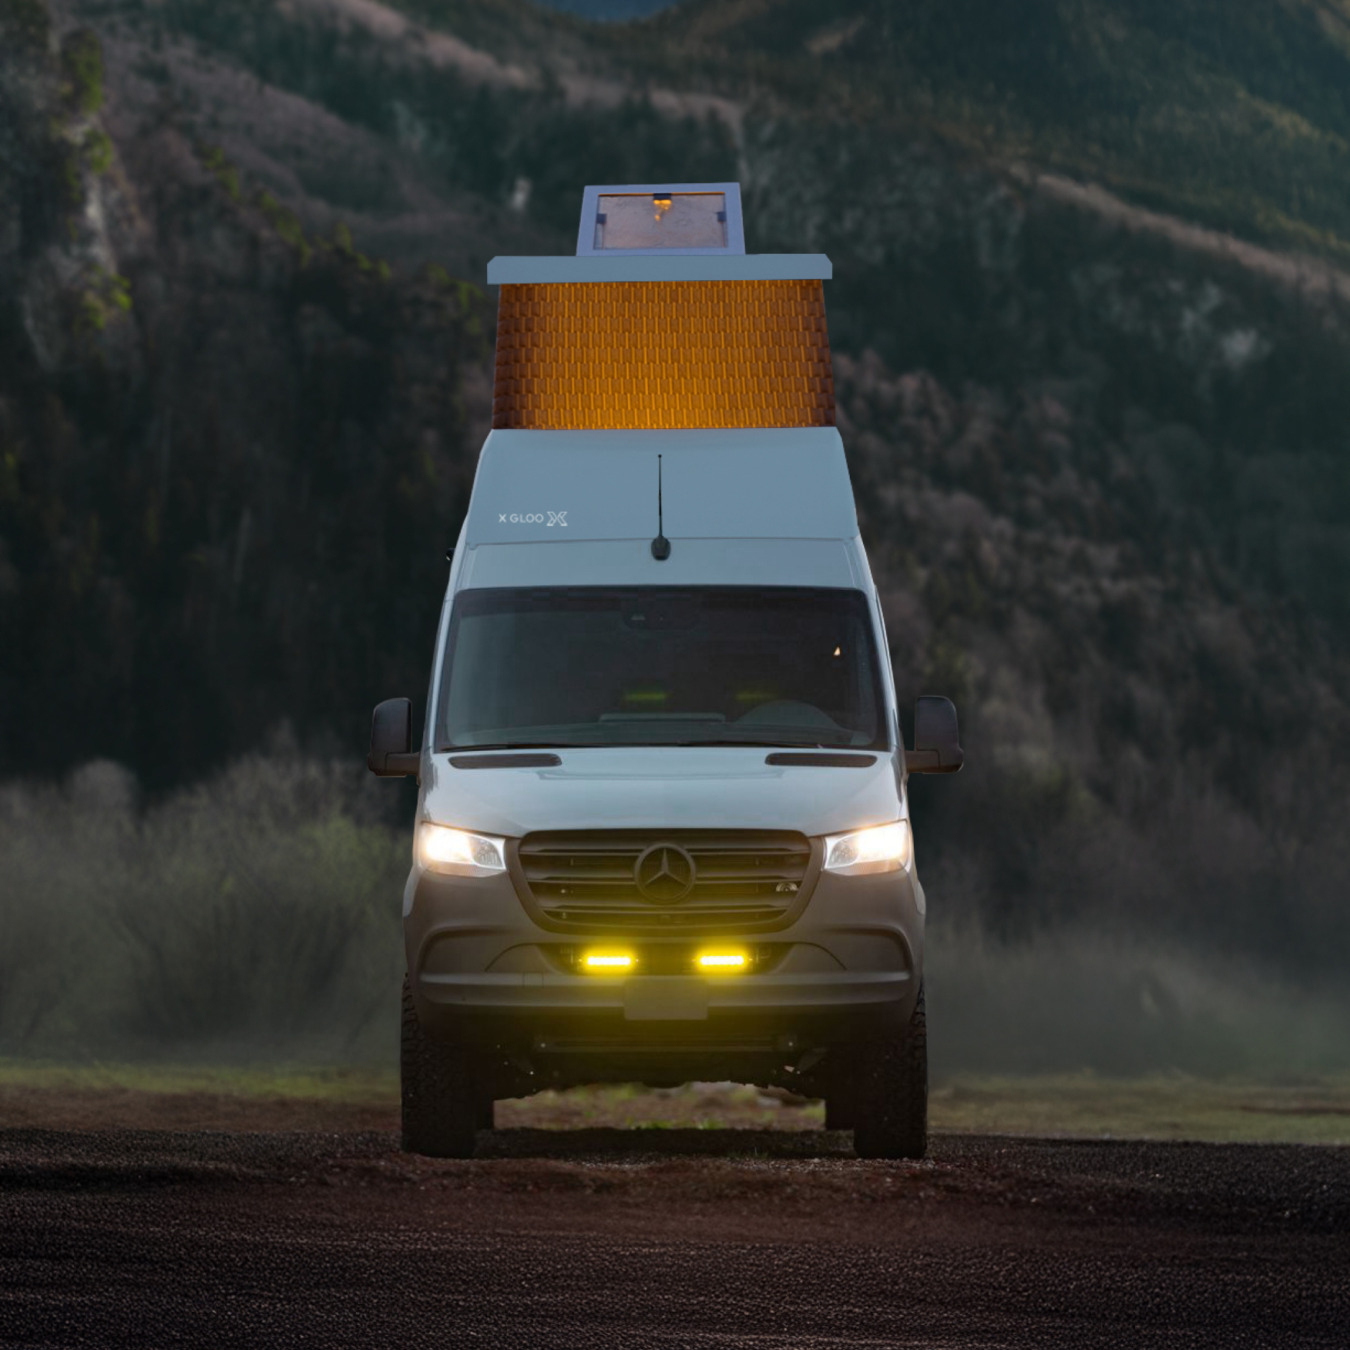
Discover this Mercedes Sprinter Pop-Top Roof by XGLOO
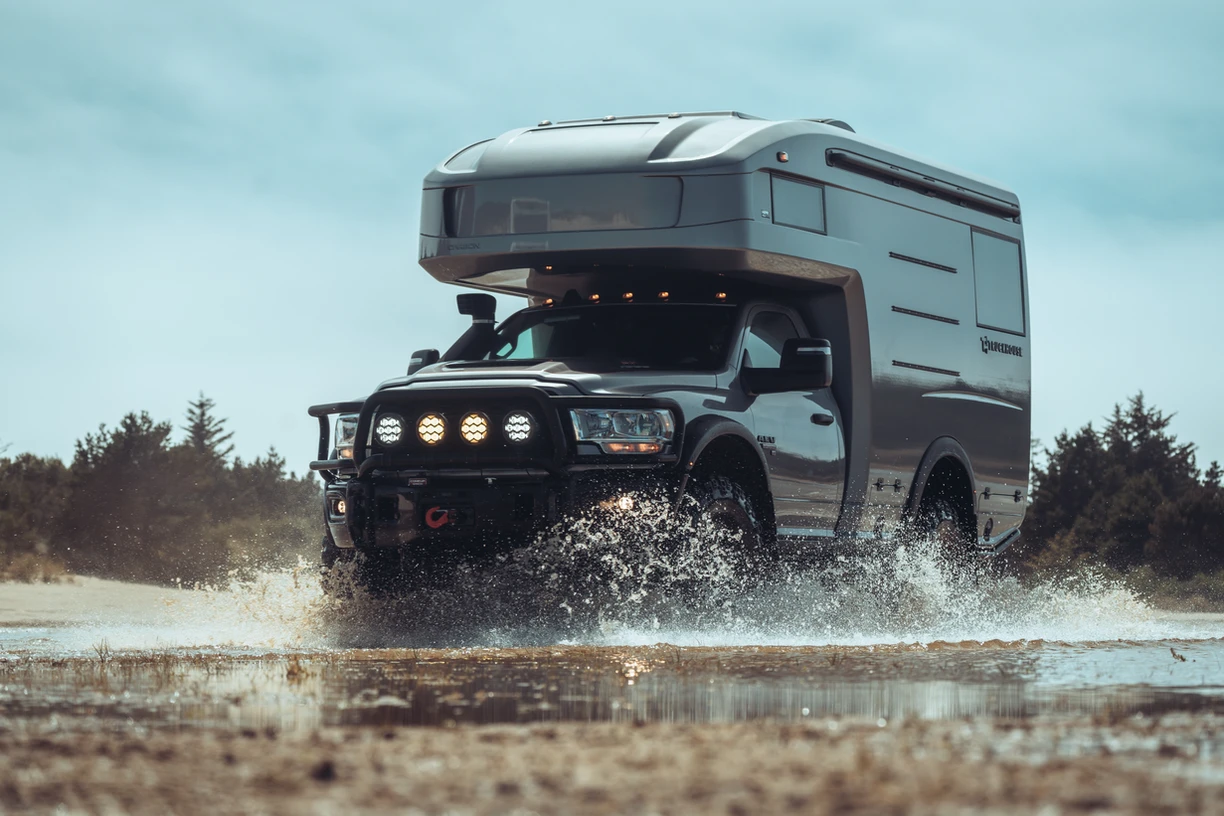
Discover this Dodge RAM 3500 Expedition vehicle By Truckhouse
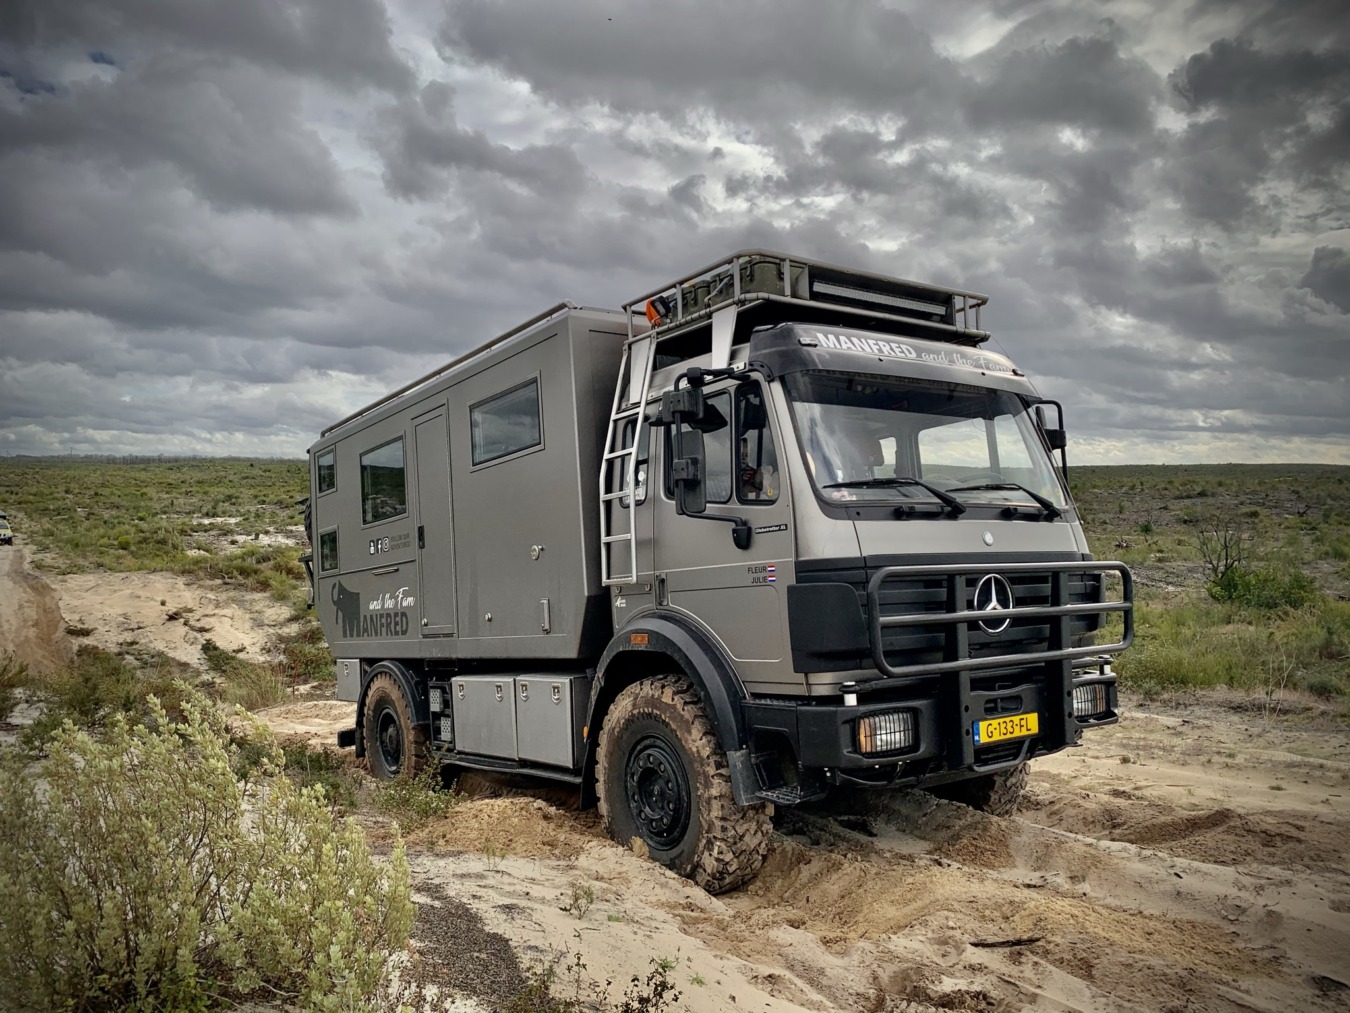
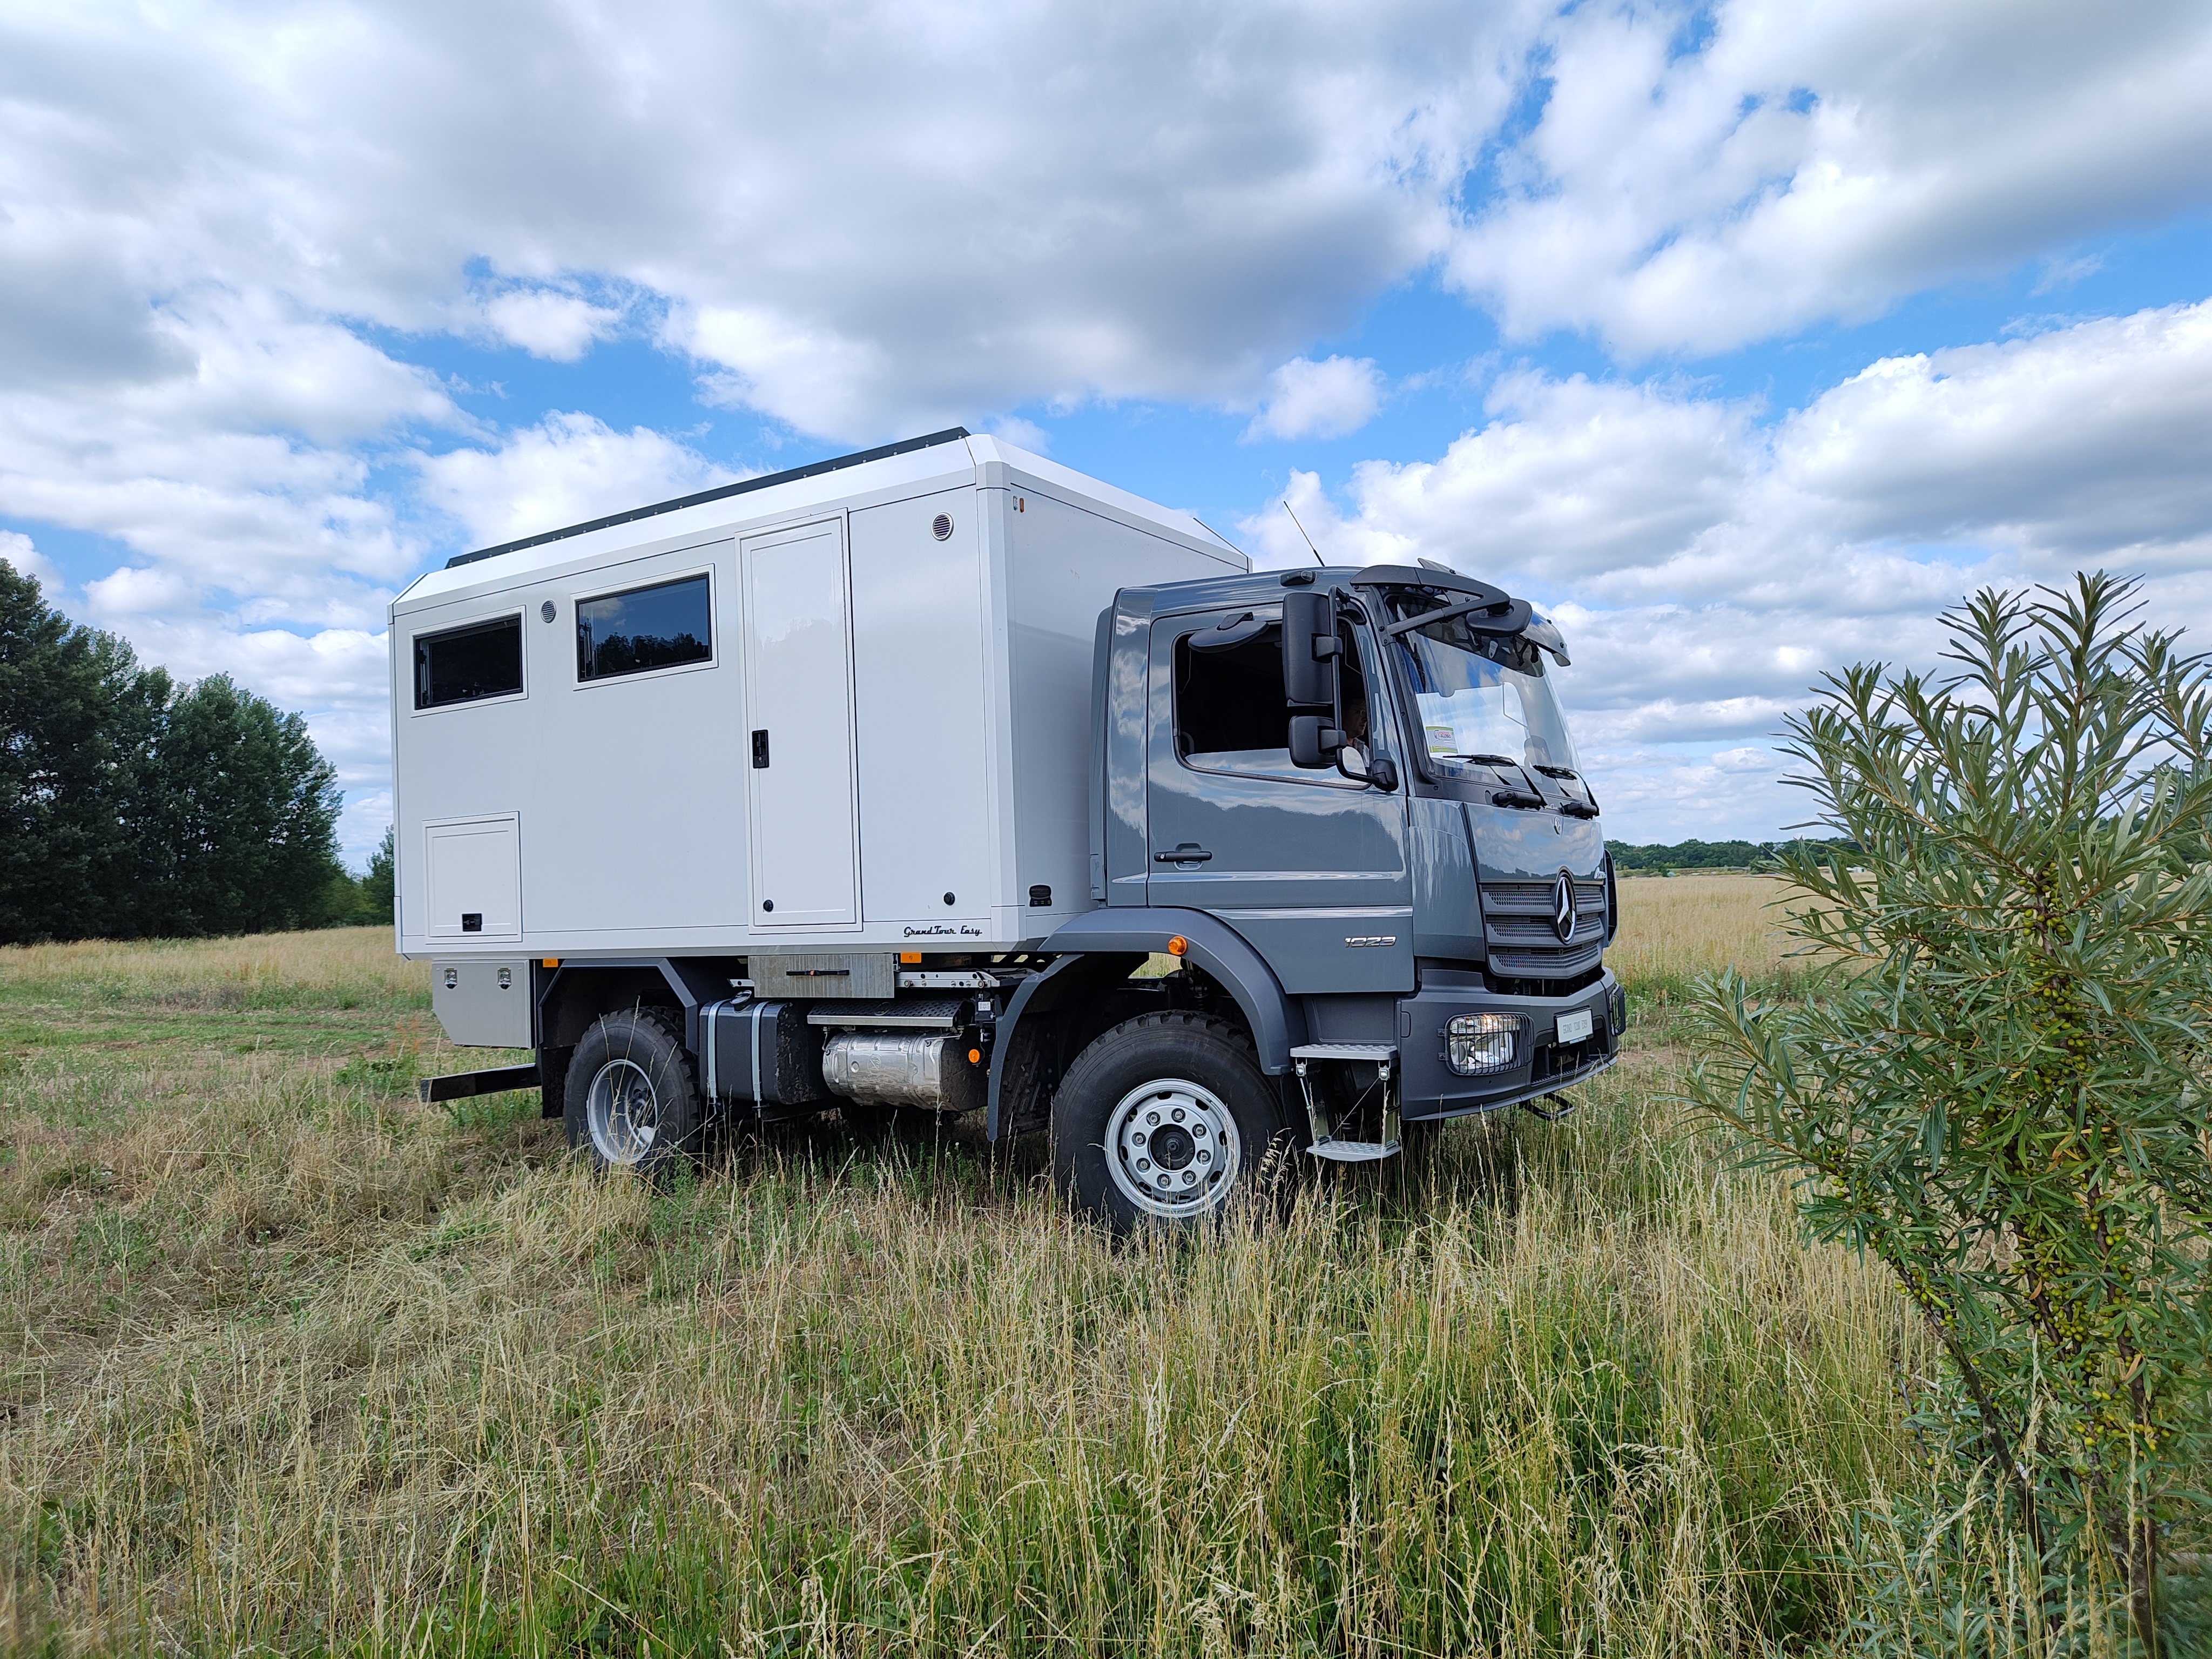
Discover This Mercedes SK1722 4×4 from Manfred and the Fam by Twiga
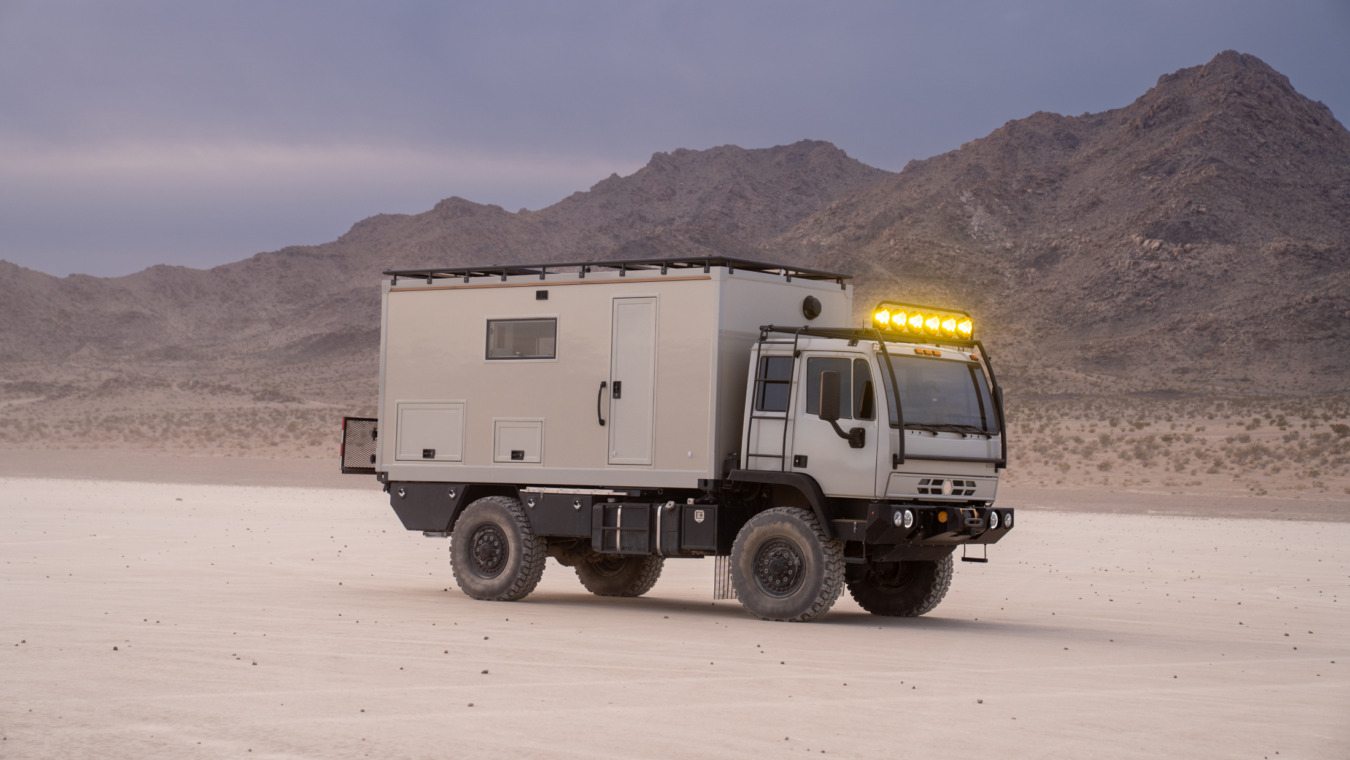
Discover this Acela Monterra 4x4 Expedition vehicle by 4xploration
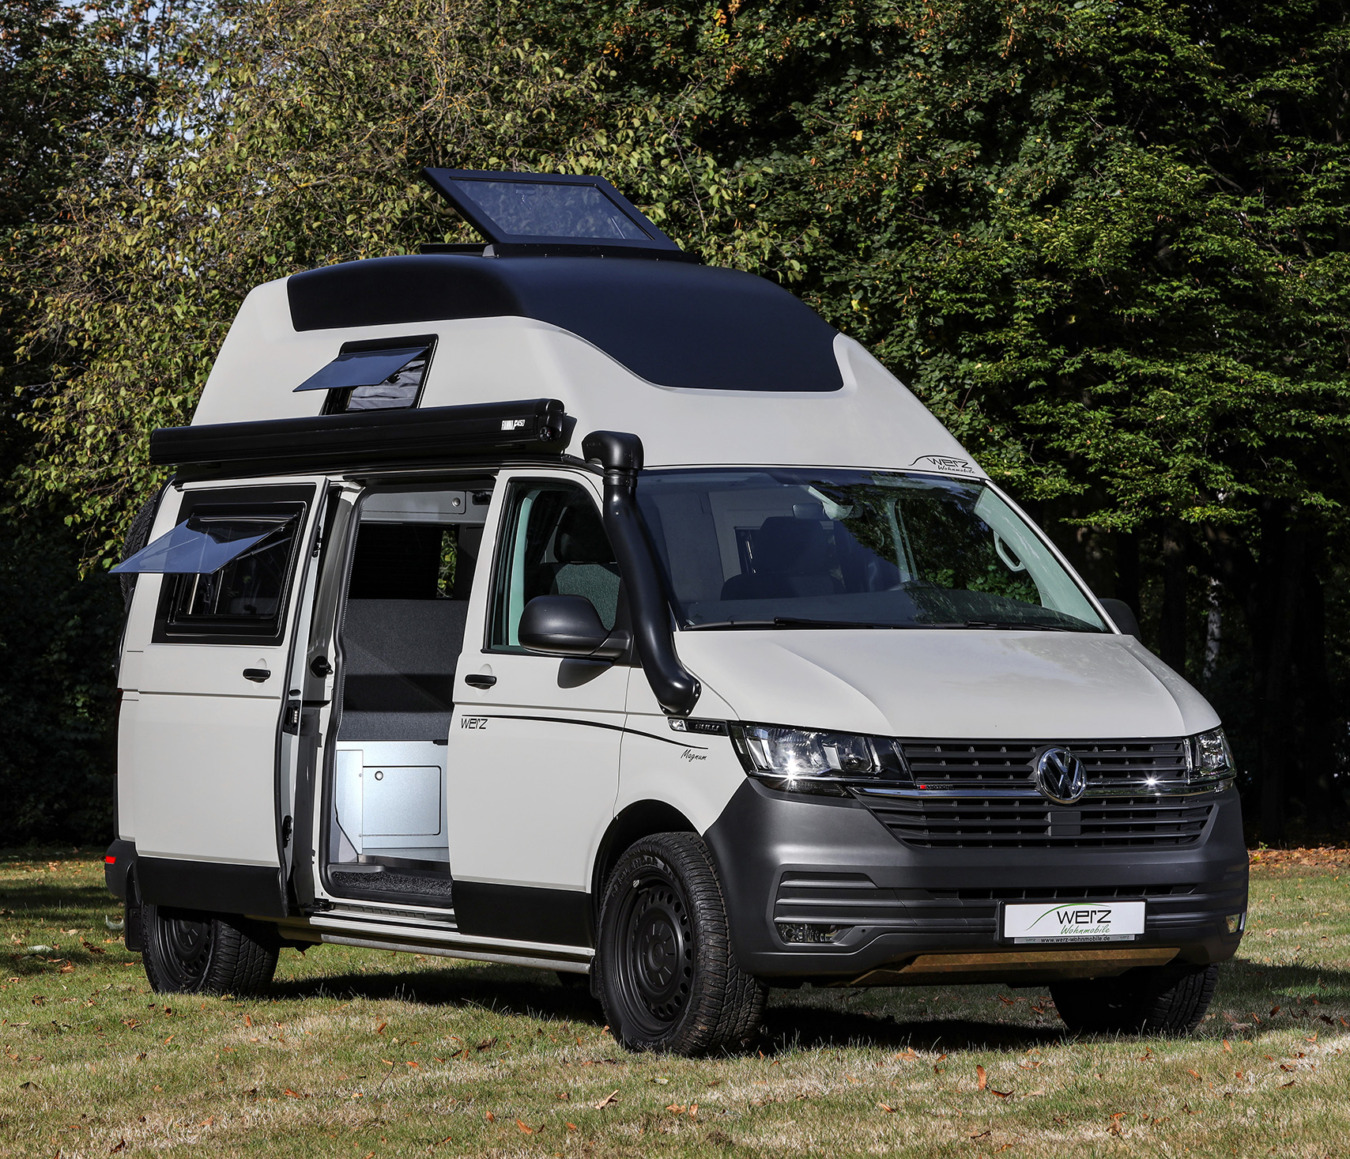
Discover this Volkswagen T6 Campervan by Werz
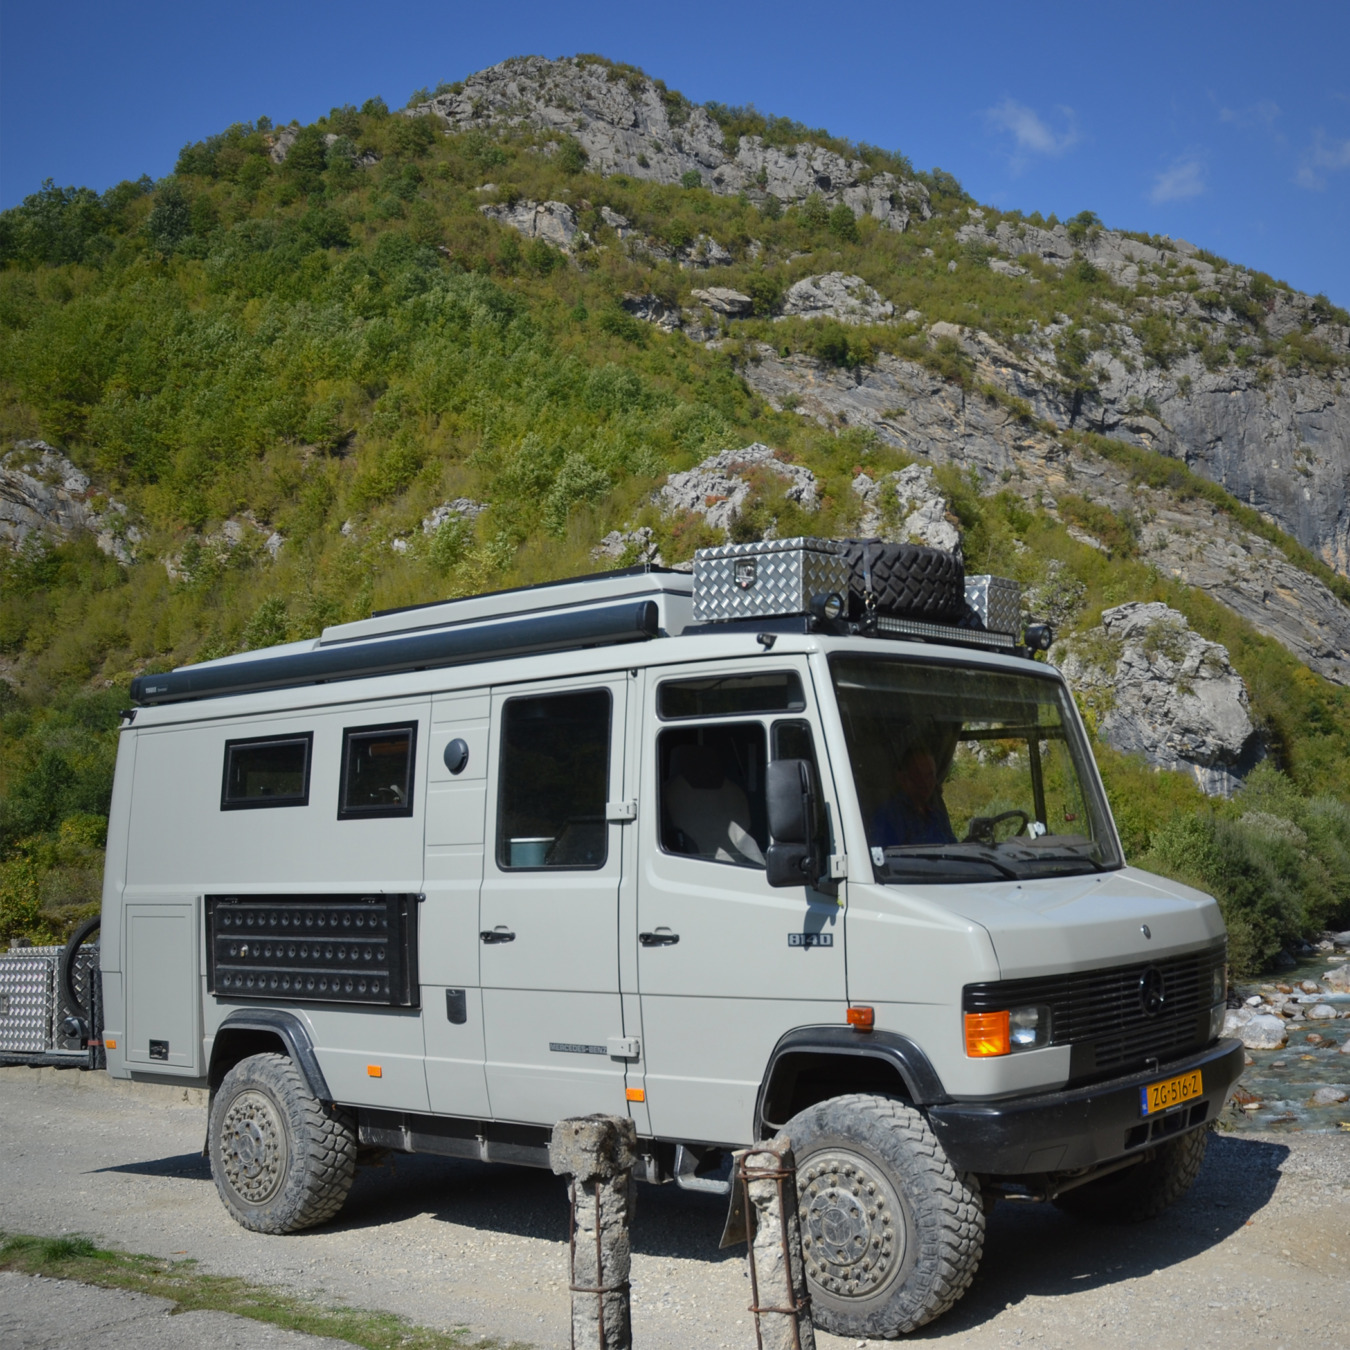
Discover this Mercedes Vario 4×4 Expedition vehicle
Frequently asked questions
Here you will find answers to common questions about camper ventilation, construction, and component choices. These insights help you make informed decisions during the design and build process, based on practical use and technical requirements.
A camper must always have permanent ventilation. This means at least one air intake and one air outlet, even when everything is closed.
For gas installations, floor-level ventilation is mandatory.
Place air intake low and air extraction high. This creates a natural airflow where cooler, fresh air enters the vehicle and warmer, moist air rises and exits at a higher point. This principle is essential for effective camper ventilation. In practice, this means you should have at least two ventilation openings: one for intake and one for extraction. For better performance, especially in larger campers or expedition vehicles, multiple openings are recommended.
Position openings opposite each other to create cross ventilation. This allows air to move through the entire interior instead of circulating in one area. For example, placing windows on both sides of the camper significantly improves airflow, especially in warm conditions. Take into account key areas where moisture and heat are generated:
- Kitchen
- Sleeping area
- Technical installations
Always ensure that ventilation openings are protected against water, dust, and dirt, especially for off-road use. Placement and protection are critical to maintain reliable performance under all conditions.
Moisture is one of the main causes of damage in campers. Poor ventilation can lead to mold, wood rot, and degradation of insulation. A well-designed ventilation system helps preserve materials and reduces maintenance over time.
A thermal bridge is a point where heat transfers easily between inside and outside, often through metal components. These areas cool down quickly and are the first places where condensation forms. Preventing thermal bridges helps maintain a stable indoor climate.
Condensation can be reduced by combining proper ventilation with good insulation. Use thermally broken windows and doors, avoid cold bridges, and ensure moisture can escape through controlled airflow.